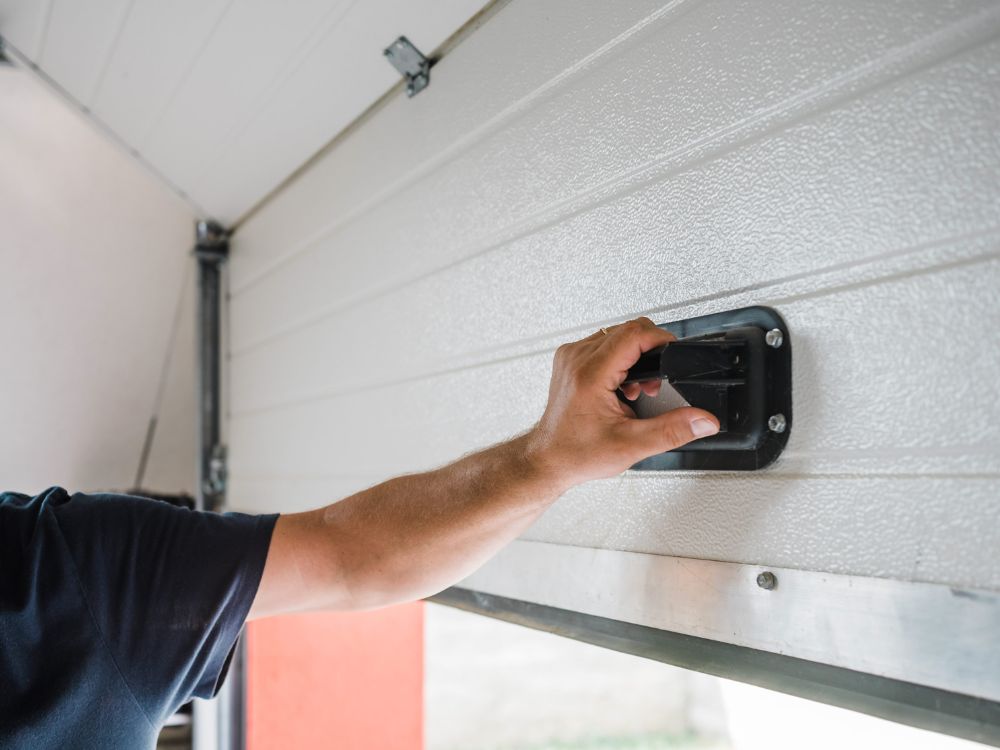
How to Install a Garage Door Opener
Installing a garage door opener can seem daunting, but with the right tools and steps, it can be a straightforward process. This guide will help you complete the installation safely and efficiently.
Required Tools and Materials
- Garage Door Opener Kit: Includes the opener, rail, motor, and necessary hardware.
- Tools: Drill, wrenches, screwdriver, level, tape measure, and ladder.
- Safety Equipment: Safety glasses and gloves.
Steps to Install a Garage Door Opener
1. Prepare the Garage Door
Before installing the opener, ensure your garage door is in good working condition.
- Inspect the Door: Check for any damage, misalignment, or worn-out parts.
- Lubricate Moving Parts: Apply lubricant to hinges, rollers, and tracks for smooth operation.
2. Assemble the Opener
Follow the manufacturer’s instructions to put together the opener components.
- Connect the Rail: Attach the rail to the motor unit.
- Install the Trolley: Slide the trolley along the rail.
- Secure the Belt or Chain: Attach and tighten the belt or chain to the rail system.
3. Install the Header Bracket
The header bracket secures the opener to the garage door.
- Mark the Placement: Locate the center point above the door and mark the spot for the bracket.
- Secure the Bracket: Use screws to attach the bracket firmly to the wall.
4. Mount the Opener
Position the opener on the ceiling of the garage.
- Lift the Opener: With help or a ladder, lift the opener into place.
- Secure to the Ceiling: Use brackets and lag screws to attach the opener to the ceiling joists.


